Apple rolled out hardware security key support in iOS 16.3, but what are they, and should you consider using them? Watch my hands-on video walkthrough as I explain why Apple added hardware security key support for Apple IDs, showcase how to use hardware security keys, and answer some frequently asked questions.
This written walkthrough explains a lot about security keys, but the video walkthrough embedded in this post is more in-depth, touches on additional platforms like macOS, and showcases features that I don’t touch on here. If you’re keenly interested in security keys, be sure to give it a watch, and perhaps consider subscribing to the channel for more in-depth analysis.
Table of contents
Hardware security keys for Apple ID
iOS 16.3 brings two big new security-focused features to the iPhone and iPad: Advanced Data Protection, and support for third-party hardware security keys for Apple IDs. In my previous iOS 16.3 walkthrough, I explained why security keys may be particularly appealing for some people:
Video: iOS 16.3 hardware security keys explained
To be clear, most users will be fine sticking with the standard six-digit code-based two-factor authentication, but for users with particularly high profiles — celebrities, government officials, 9to5Mac bloggers 😆 — opt-in third-party hardware key support can strengthen account security even further. Because hardware keys are physical authentication devices that the user has in hand, they can prevent even an advanced attacker from obtaining a user’s second factor via a phishing scam or other attack.
Subscribe to 9to5mac on YouTube for more videos
How to choose a hardware security key
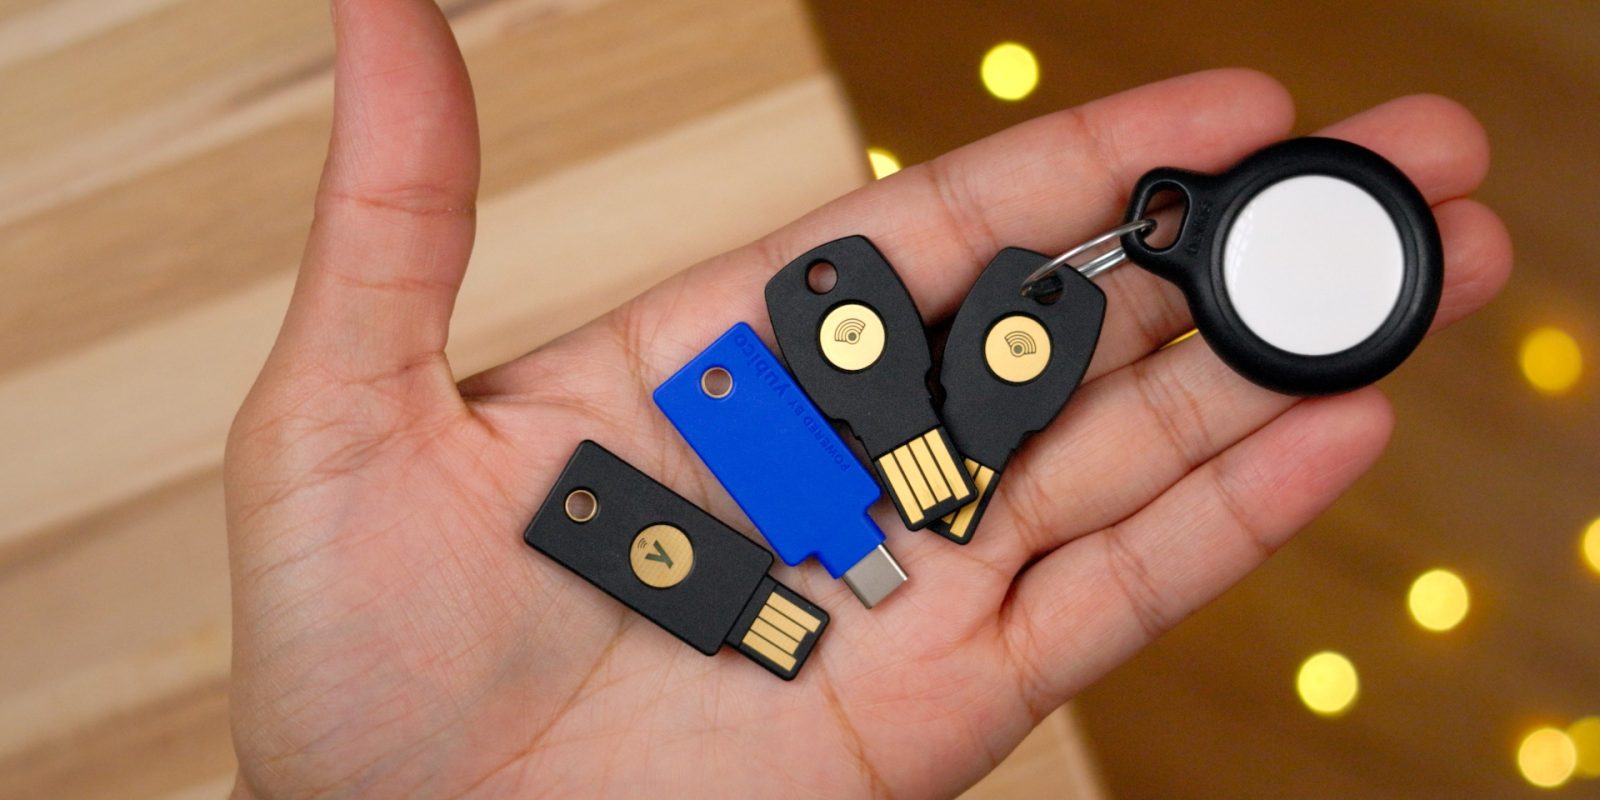
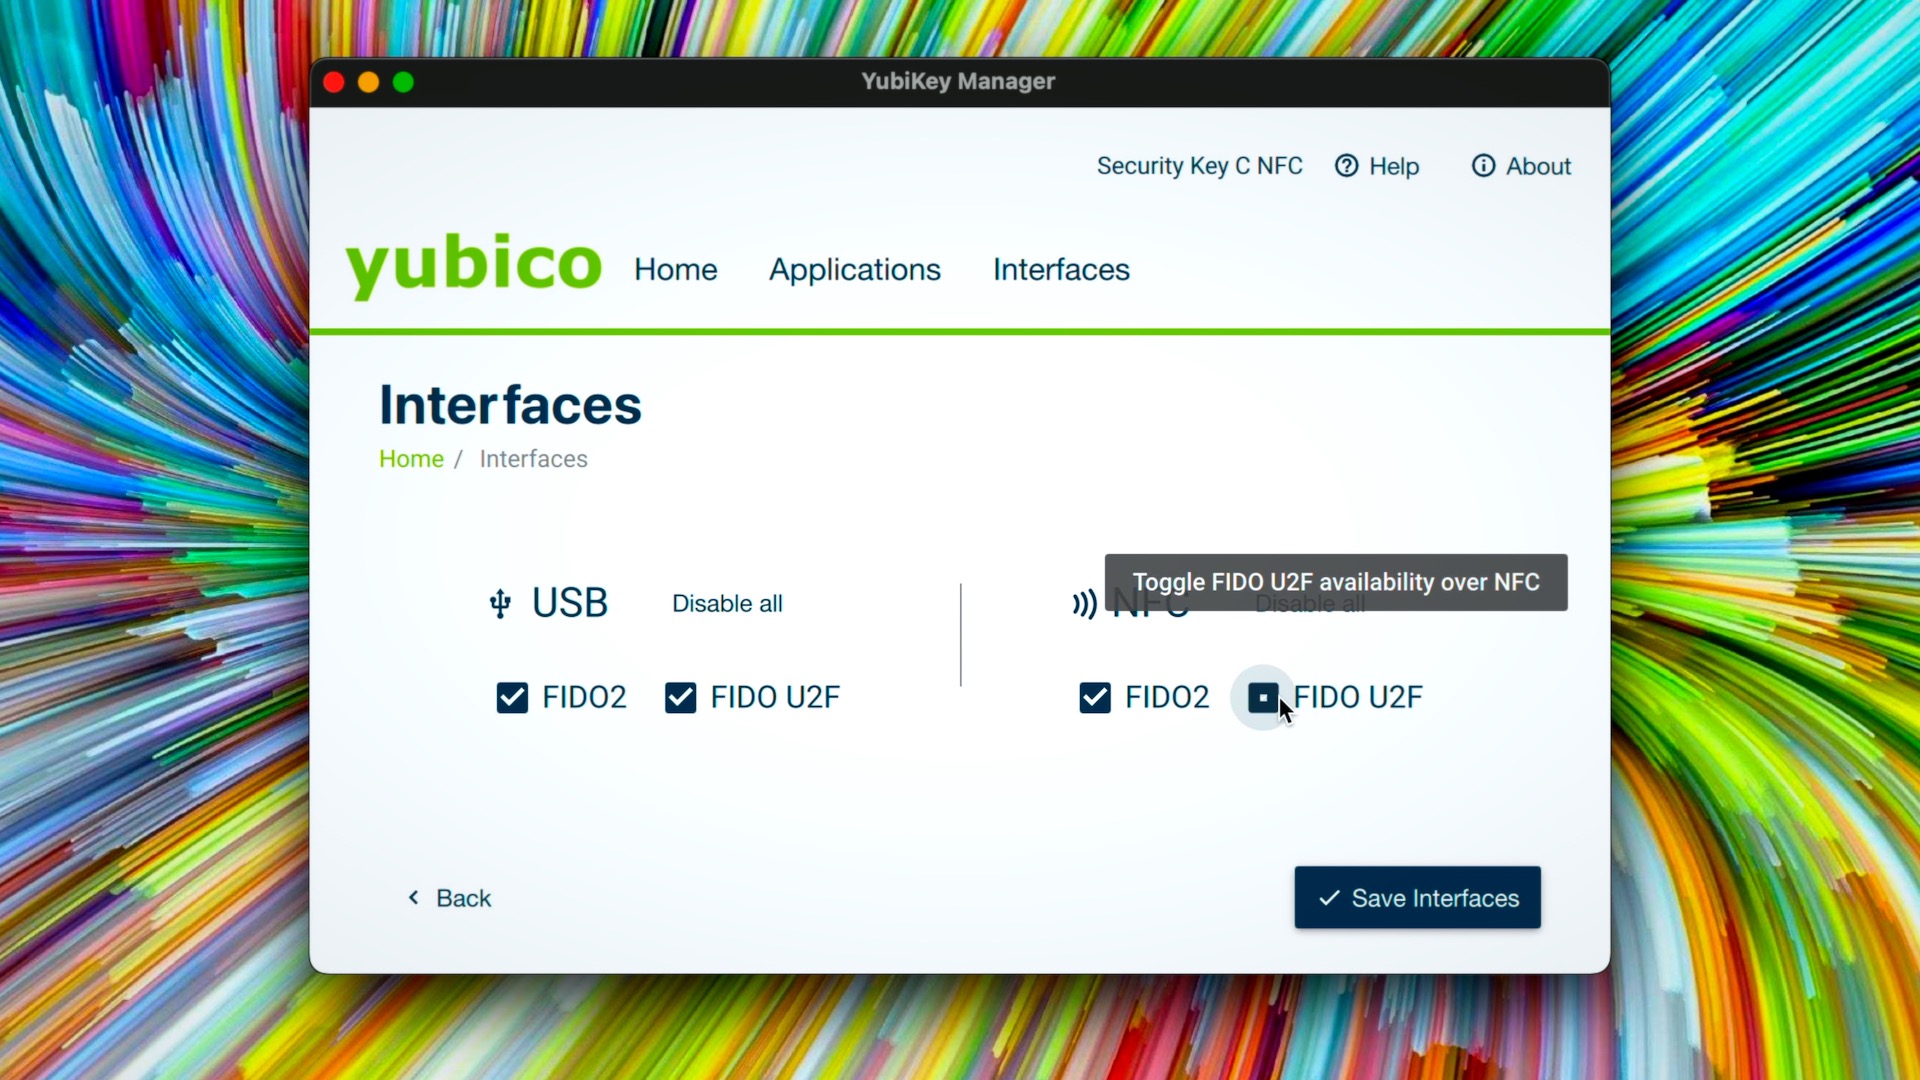
Apple does not provide its own hardware security keys. Instead, it’s working with the FIDO Alliance to ensure cross-platform compatibility with open standards. Therefore, third-party FIDO Certified security keys should work with iOS 16.3’s hardware security key feature. All of the FIDO2 and FIDO U2F keys that I’ve tried have worked well. The FIDO2 protocol is an evolution of FIDO U2F with expanded authentication options. For a list of certified keys, visit the FIDO Certified Showcase page.
Initially, I purchased two Feitian FIDO U2F + FIDO2 hardware security keys from Amazon. These keys feature both USB-A and NFC connectivity, which allows it to connect to Macs, iPads and iPhones via a USB-A dongle, and to the iPhone via wireless NFC. Like many others, Feitian’s key is secured by NXP semiconductors, a dutch corporation that co-invented NFC alongside Sony.
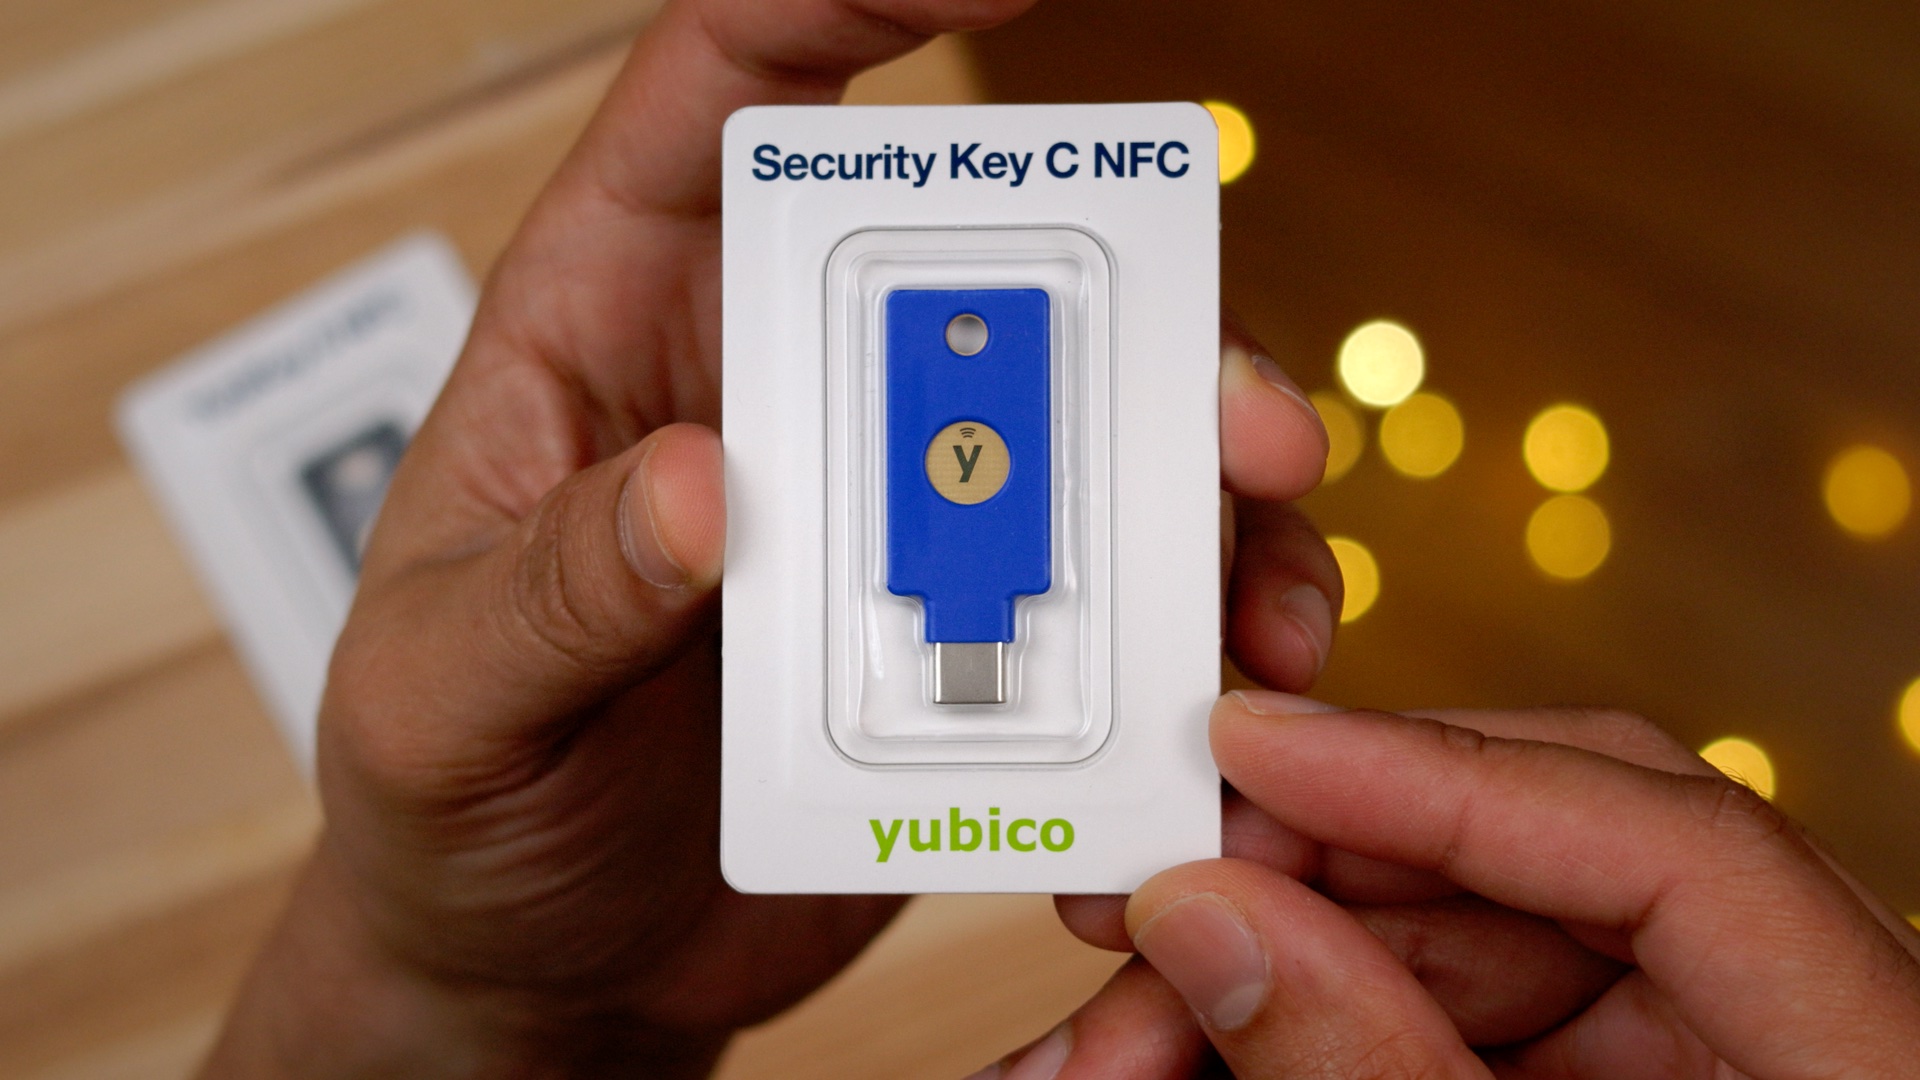
I also purchased two Yubico keys. The Yubico Security Key C features NFC connectivity, but comes with a USB-C connection instead of USB-A. The USB-C connection allows it to connect USB-C-enabled iPads and Macs without dongles, making it my favorite key of the bunch.
The YubiKey 5 offers multi-protocol support including FIDO2, Yubico OTP, OATH HOTP, U2F, PIV, and Open PGP. This key features both USB-A and NFC connectivity, and, due to its multi-protocol nature, is the priciest of all of the hardware keys mentioned here. If you’re only concerned about securing your Apple ID, it’ll be best to stick with cheaper options, since having the other protocols has no bearing on Apple’s support for security keys.
iPhones, iPads, and Macs will be able to take advantage of hardware security keys with a USB connection via a dongle, if necessary, while iPhones can also take advantage of more convenient NFC-enabled keys. Sadly neither Macs nor iPads feature NFC. Many of the FIDO-compatible keys that you’ll find feature both USB and NFC support built into the same key. USB connectivity uses an HID protocol like a keyboard for driverless interfacing.
A fun fact is that security key support has been baked into Safari for some time, even before iOS 16.3’s rollout. For example, I can login to the Apple ID website and authenticate with a security key using my first generation iPhone SE and a Lightning to USB-A dongle. It’s only for the system level stuff that iOS 16.3 is a requirement.
How to add hardware security keys in iOS 16.3
Apple requires that users set up at least two keys initially, although you can add even more than that – up to six – if you wish. This two-key requirement is there so that you can still authenticate in case one of the keys is lost or damaged. But even if you do lose all of your keys, as long as you have trusted devices connected to your Apple ID, you’ll always be able to roll back to the six-digit codes as a second means of authentication.
Before enabling Security Keys, ensure all of the following are true:
- Your Apple ID has two-factor authentication enabled.
- A passcode/password is enabled for your device.
- You’re running the latest version of software on the device you’re adding keys to:
- iPhone needs to be iOS 16.3 or later
- iPad needs to be iPadOS 16.3 or later
- Mac needs to be macOS 13.2 or later
- Keys cannot be added from Apple Watch, Apple TV or HomePod
- Once hardware keys have been setup, you’ll not be able to login manually to devices that have not been updated to iOS 16.3. Instead, you’ll receive a Software Update Required message. You must either update these devices to iOS 16.3 or later, setup with Quick Start to bypass the login request, or disable hardware security keys.
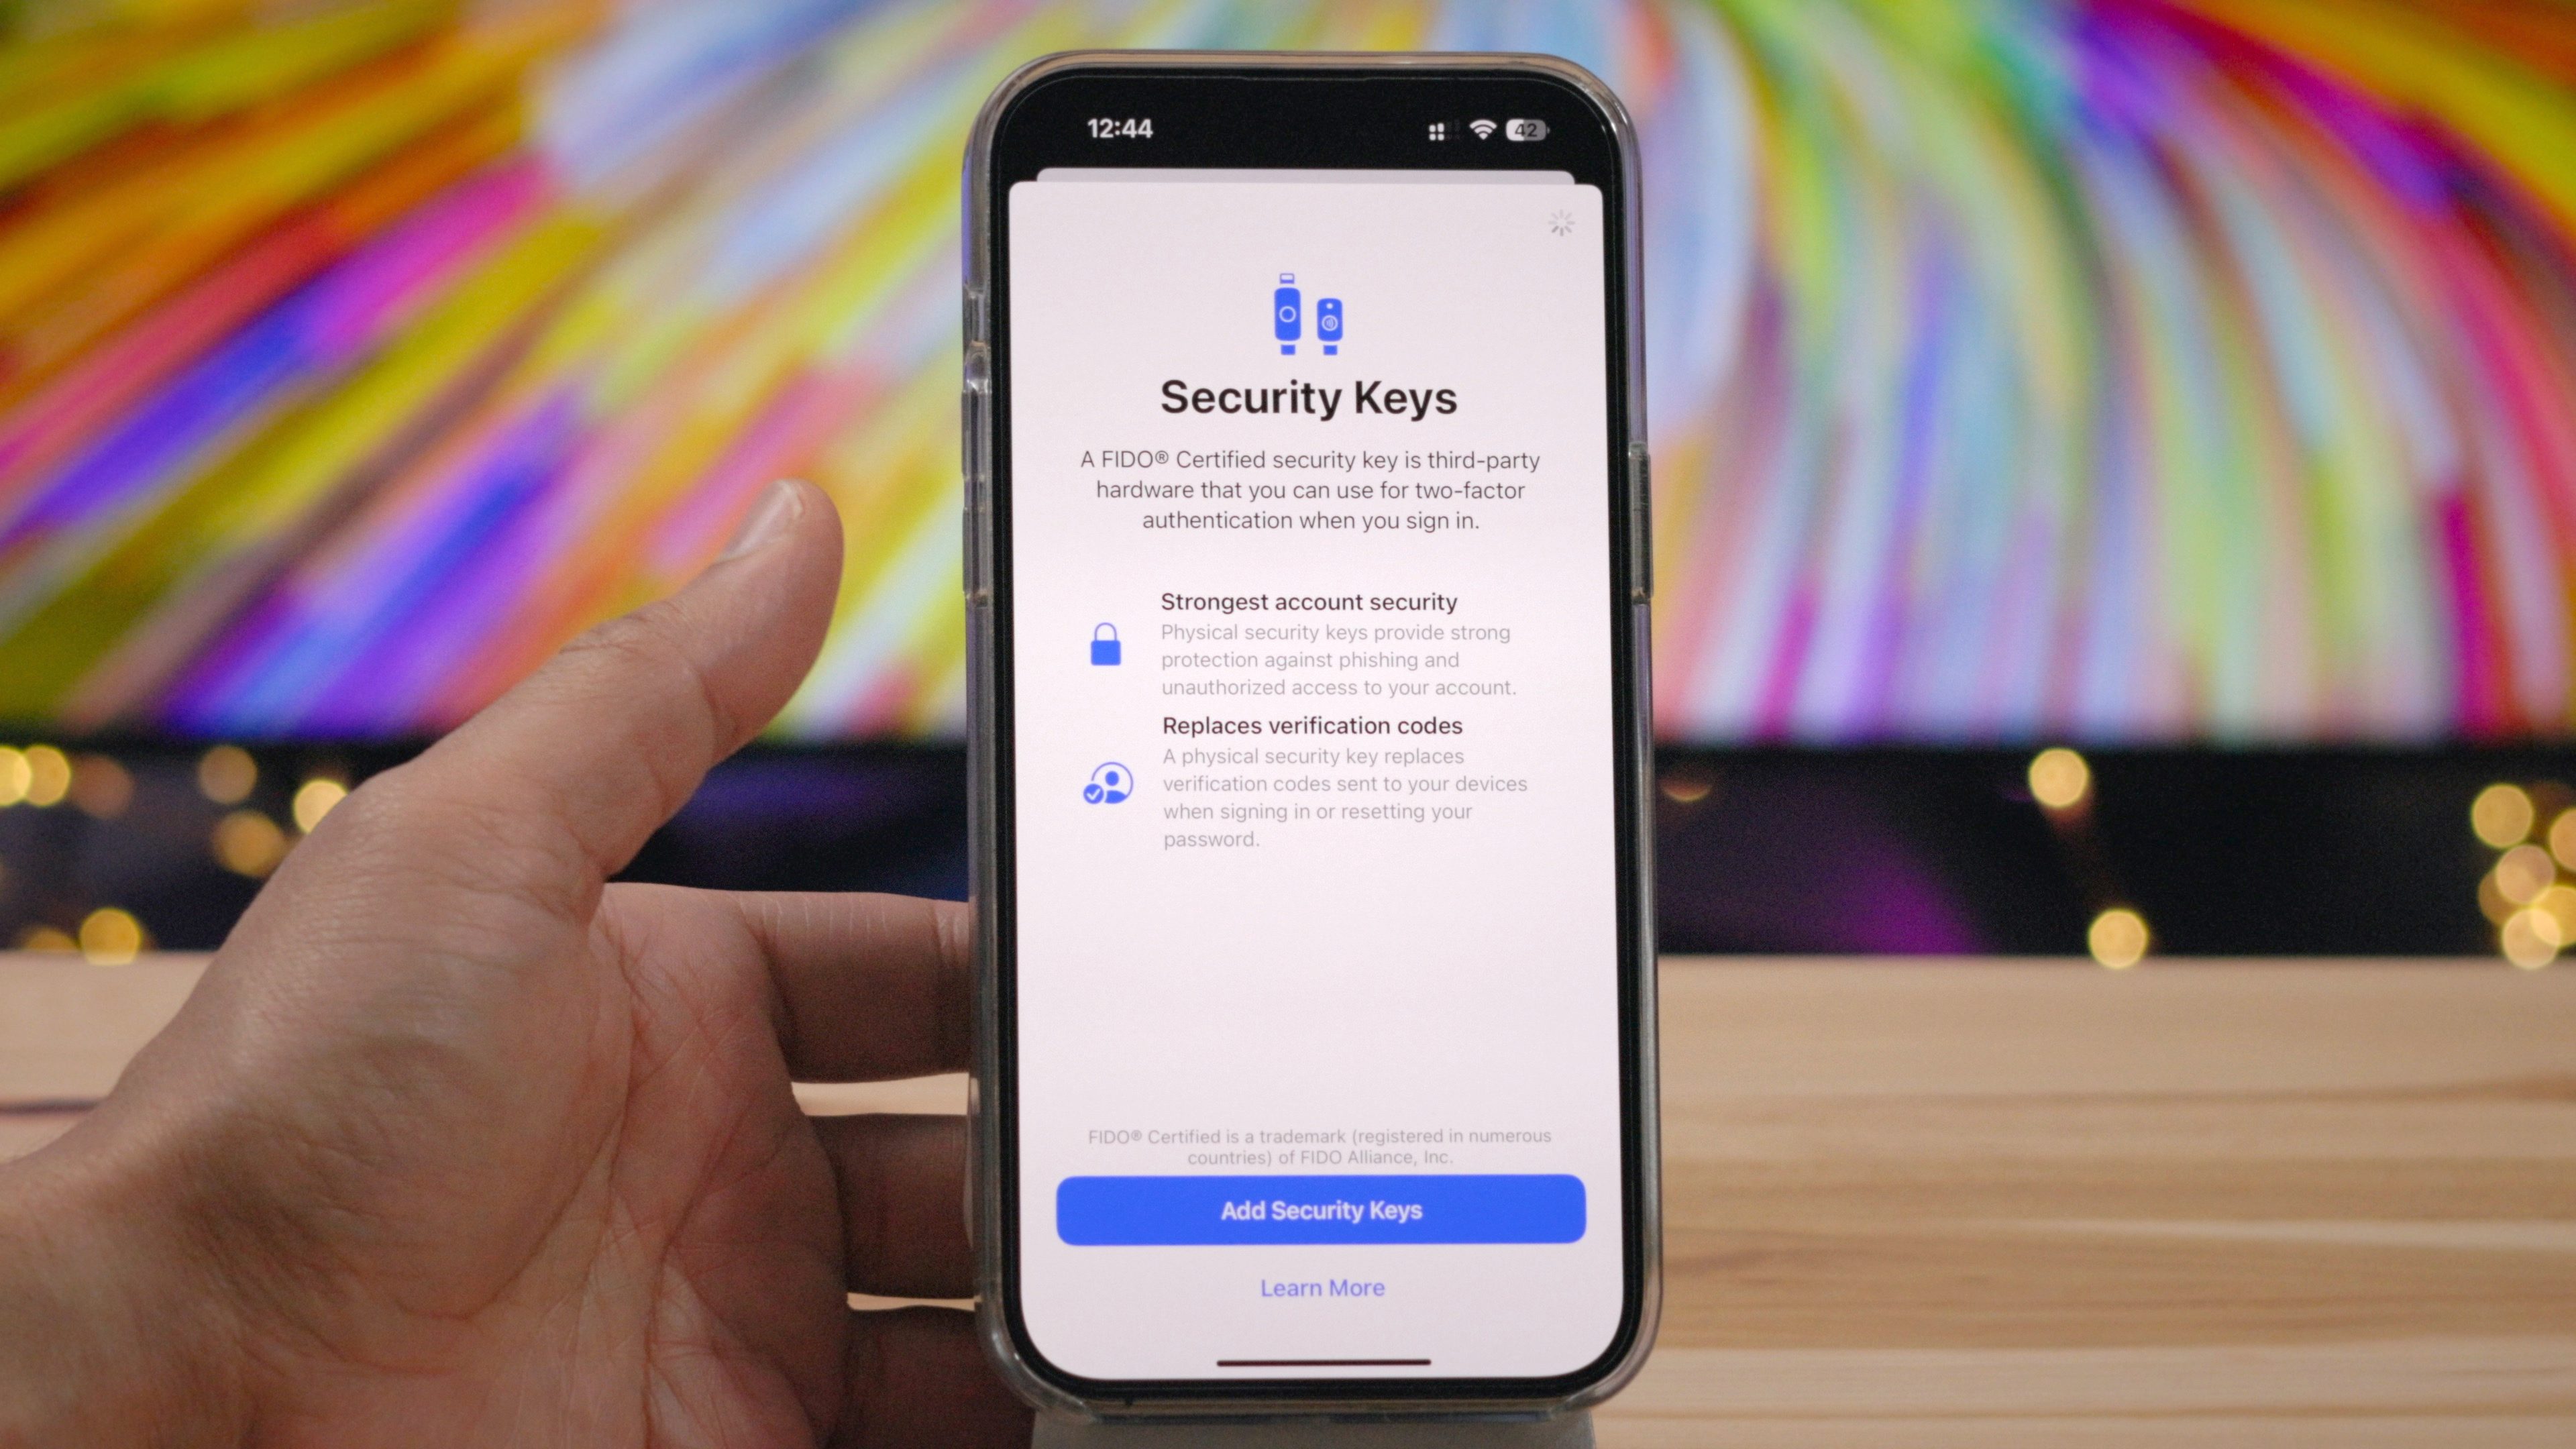
Step 1: Go to Settings → <Your Name> → Password & Security → Add Security Keys.
Step 2: On the ‘Security Keys’ page, tap the blue Add Security Keys button.
Step 3: On the ‘You Need Two Security Keys’ page, tap Continue.
Step 4: Enter your iPhone or iPad’s passcode to unlock your device to add security keys.
Step 5: Use NFC or USB to add the first security key.
Step 6: Give your security key a unique name in order to tell them apart, and tap the Next button in the upper right-hand corner.
Step 7: Add the second security key, give it a name, and tap Next.
Step 8: Apple will now show a list of all of the active devices signed in to your account. Since devices already signed in will not need to reverify, now is a good time review the active devices on your account.
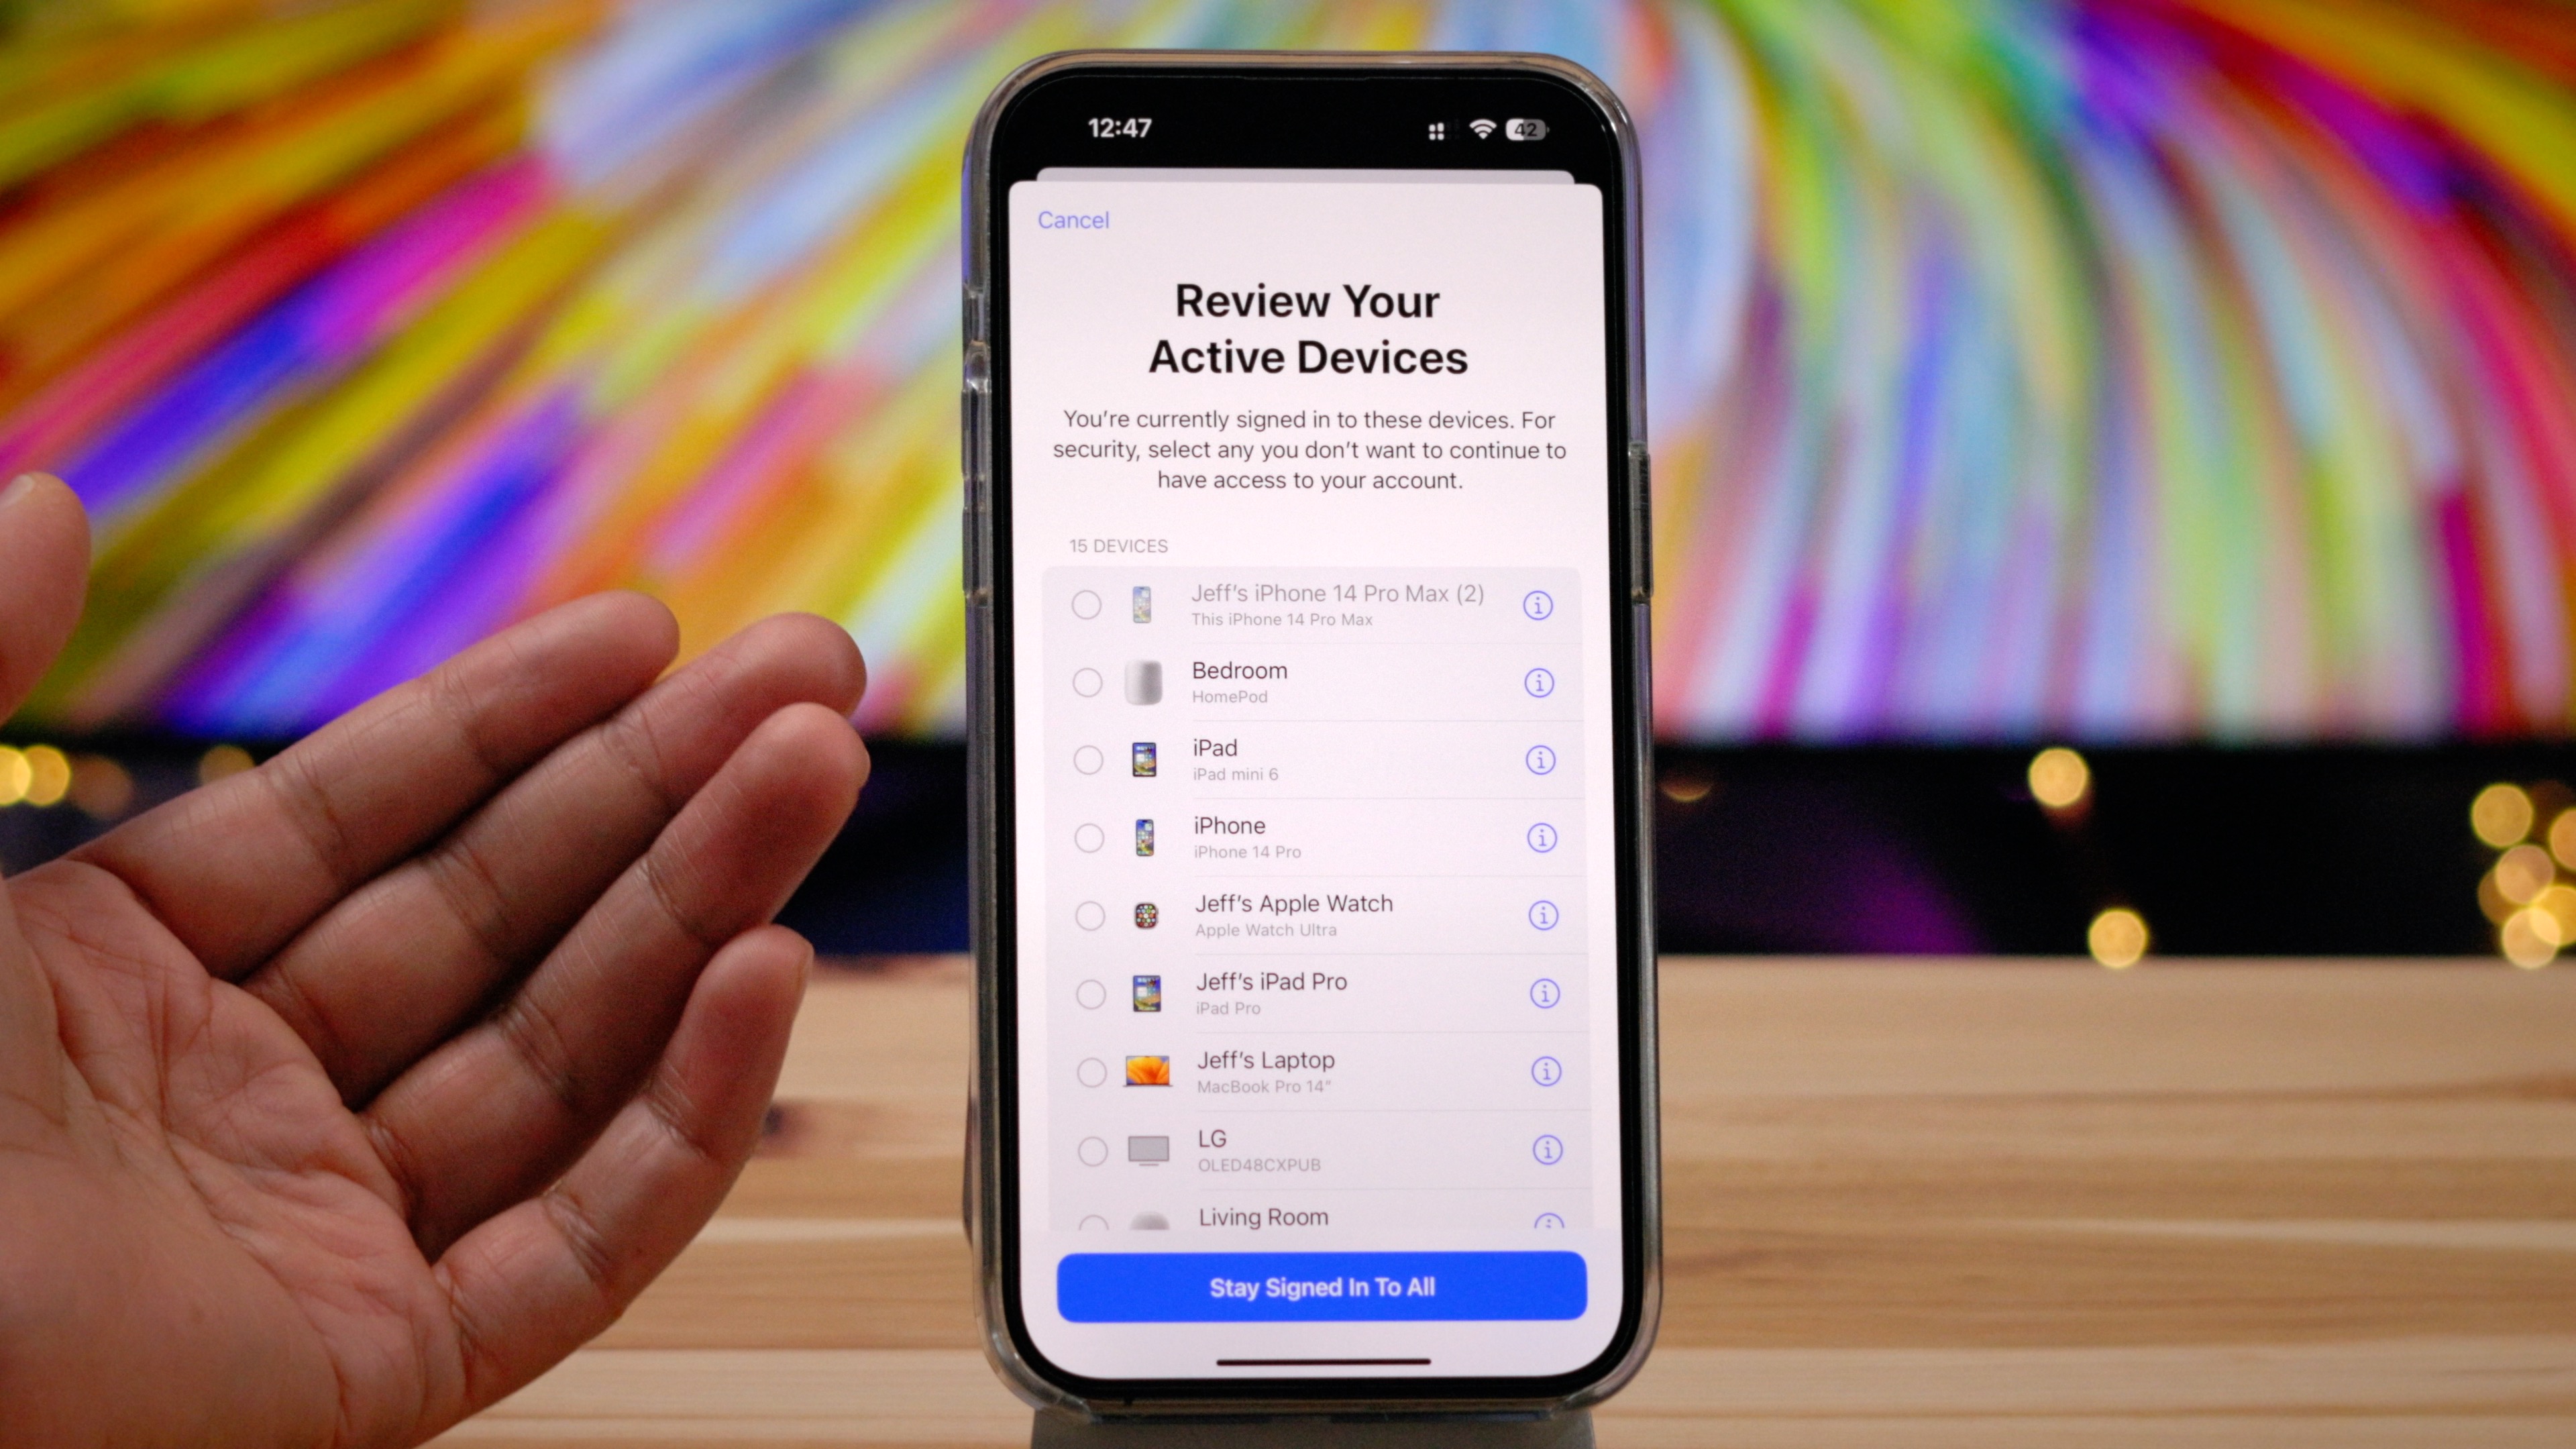
If you’re okay to stay signed in to all of the listed devices, tap Stay Signed In To All. Otherwise, tap the radio button next to the devices that you wish to sign out of, and then tap Sign Out of Device(s) and confirm by tapping Sign Out of Device(s) again.
Step 9: Finally, you’ll see the page stating that Your Security Keys Have Been added. Tap the Done button to complete the process.
A note about inactive devices: During security key setup you will be signed out of any inactive devices automatically. Apple classifies a device as inactive if it hasn’t been used or unlocked in more than 90 days. You’ll need to update to the latest software version and use a security key to sign back in. If the device is an older device that doesn’t support iOS 16.3, such as the aforementioned iPhone SE, you won’t be able to sign back in while security keys are enabled. You’ll need to first disable security keys, sign in, and then enable security keys.
How to use hardware security keys to authenticate
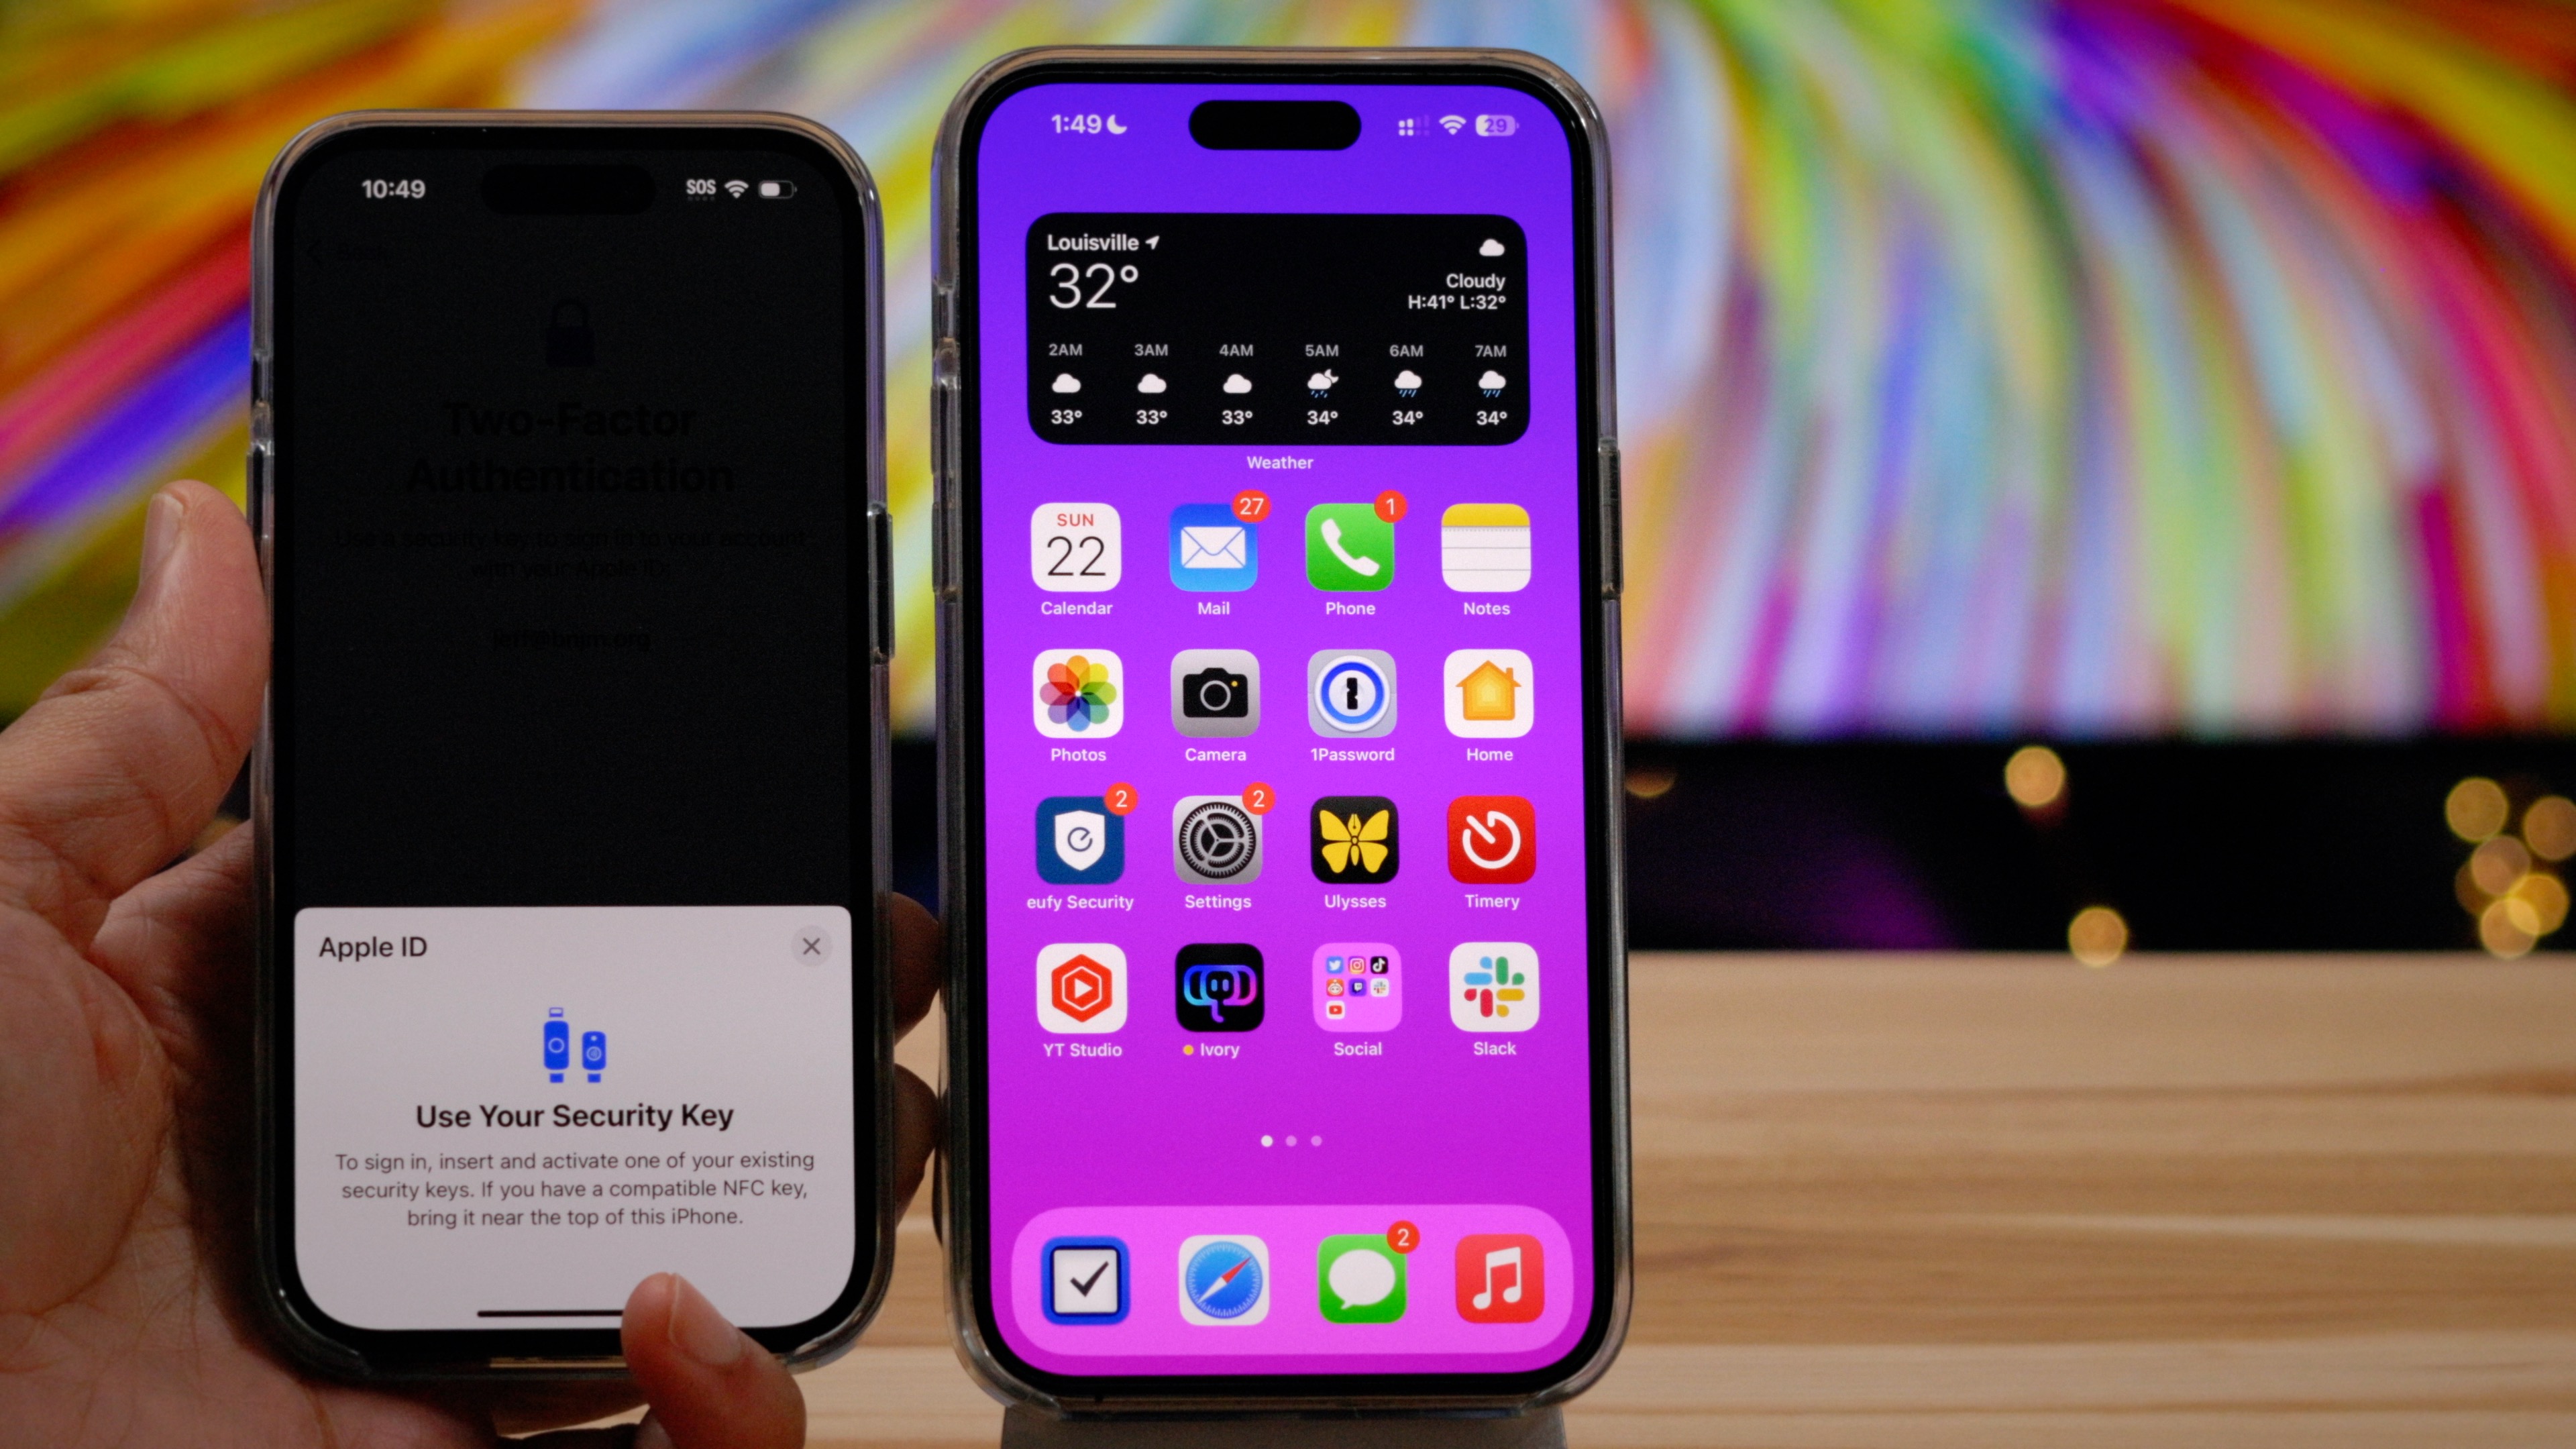
Once you set up hardware security keys, you can now use them as the second factor along with your password for logging in to devices with your Apple ID. You’ll need your key anytime you:
- Sign in with your Apple ID on a new device.
- Sign in with your Apple ID on the web from an unauthenticated device.
- Reset your Apple ID password or unlock your Apple ID.
Setting up an iPad or iPhone using Quick Start
Most people will set up a new iPhone or iPad via Quick Start. Devices set up via Quick Start inherit authenticated access from the device used to set it up, meaning you will not need to authenticate with hardware security keys if the source Quick Start device is already authenticated.
If the source device used for Quick Start is running iOS 16.2 or below, but the new device you’re setting up is running iOS 16.3, you’ll be able to use your security key to authenticate and login with your Apple ID.
If the original device used with Quick Start is running iOS 16.2 or below, and the new device you’re setting up is running iOS 16.2 or below, you will not be able to log in with your Apple ID. Instead, you’ll see a message that says Software Update Required. You can then skip the Apple ID login, finish setting up your device, update to iOS 16.3 or higher, and then log in with your Apple ID.
Setting up an iPad or iPhone manually
When setting up a device running iOS 16.3 or later manually, you’ll need to use your hardware security keys to authenticate and login with your Apple ID.
When attempting to set up a device manually running iOS 16.2 or below, you will not be able to log in with your Apple ID. Instead, you’ll see a message that says Software Update Required. You can then skip the Apple ID login, finish setting up your device, update to iOS 16.3 or higher, and then login with your Apple ID.
How to disable hardware security keys in iOS 16.3
Disabling security keys can be done via iOS, iPadOS, or macOS devices. Here’s how to disable security keys on iOS or iPadOS:
Step 1: Go to Settings → <Your Name> → Password & Security → Security Keys
Step 2: Tap on the name of the key and tap Remove Key. You can only remove an individual key if you have three or more keys enabled.
Step 3: Enter your iPhone Passcode to unlock and remove the individual key.
Step 4: To remove all keys, tap the Remove All Keys button and then tap Remove to confirm.
Step 5: Enter your iPhone Passcode to remove all security keys.
Removing all keys will disable hardware security keys, and revert back to using six-digit verification codes for two-factor authentication.
Conclusion
Hardware security keys aren’t as convenient as the six-digit codes that we’ve all been using as the second factor in Apple’s two-factor authentication setup, but they are a more secure solution, because only you should have physical access to them. If you’re a high-profile user and are concerned about advanced phishing or social engineering scams, then hardware keys may help to contribute to your peace of mind.
Do you plan on using security keys? Sound off down below in the comments with any thoughts, questions, or concerns.
FTC: We use income earning auto affiliate links. More.


Comments